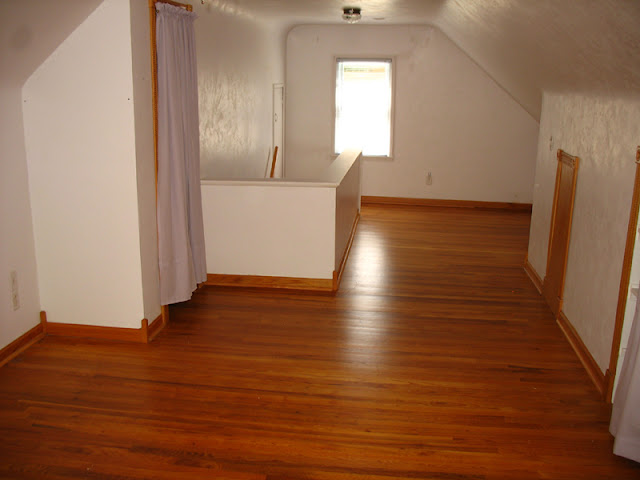
This got me to thinking and I went to one of my favorite sources of ideas, Pinterest. I ended up finding a pin/link for someone who had taken an ordinary old desk and made it into a kitchen island. I really liked the idea of using something that would normally have been just thrown away or stashed in a basement to spend its years collecting dust. The light finally came on, I had an old desk upstairs that the previous owners had left with the house. It was a very cool desk so we kept it even though we really didn't need it.
So after staying up till 4am Sunday morning drawing out plans and making cut lists to design the perfect kitchen island, my husband and I finally made it to the home improvement store to pick up a few basic materials. We had some of the materials at home already as I found some things on one of my trips to ReStore that I liked and had on hand just waiting for the perfect project.
I really loved the style of the desk we were using and I didn't want to take away from the cool detail of the feet by placing the desk on a platform to raise it up to counter level. This conundrum sent me back to the internet where I found suggestions to raise the top of the island by 6" making it counter height and creating another shelf underneath. I wasn't sure about this idea, but when I showed my husband he loved it, and so there it was, our solution to making our regular old desk a counter top height island.
Now on to the fun parts.
Here is our starting point. Just a plain old desk that was in a bit of rough shape from years of abuse.
I don't have any pics of the intermediate steps because it was late at night and to be honest I just plain forgot to take them. We added in supports, built the removable shelf, placed the legs and brackets on the new table top and then secured the legs to the base/desk.
Please don't mind the mess as it was still a work zone.
For the back of the desk we removed the old backing and cut a piece of
1/8" fiberboard to create a new backing. I also drilled and screwed
supports into each of the existing shelves to sturdy up the desk a bit.
Here it is, the finished product. The table top was the top of an old desk that I have had for the past ten years or so. We picked out a deep blue color that we liked called "Chicago Blues" from Benjamin Moore paints. It really makes the island a focal point from the bright white cabinets. We also removed our old round light fixture and installed three pendant lights to give the island a little more light.
Please note, the color isn't quite as bright as the pic makes it look as the flash was on and distorts it a little bit.
On the back and sides of the island I wanted it to look more like a piece of custom furniture so I added a faux wainscoting detail by creating squares out of trim.
At this point my husband thought we were done with the kitchen, boy was he wrong. He should know better, it is me after all :)
I really like the island, but for some reason now the walls just looked so plain and empty to me. I had a few projects in mind for the walls prior to making the island, but I knew that I needed to go a step farther now.
The idea came to me to install a chair rail and paint the lower half of the walls white. Me being who I am then decided to go with even more detail and add the faux wainscoting to the walls that would tie in with the island.
This was a very time consuming process as each individual piece of trim had to be miter cut and applied once piece at a time to the wall. I think this was the most painstaking process in the kitchen redo just because of the time involved. I should mention that I had to do all of the cuts with a hand saw, but if we ever do anything like this again I am investing in a miter saw haha.
So now onto the finished room, after all that is what you have all been waiting for right?
As you can see, the color of the island is more of a creamy blue, rather than the bright blue the pictures with flash tend to portray.
We finally added new blinds to the windows and I made valances to give a little more punch to the room.
All of the items on the wall, minus the coat hooks, were found at our local Habitat for Humanity ReStore. I love the look of old windows, as you will see them located in other rooms throughout our home, so I had to have them in the kitchen as well. I used Mod Podge and scrapbook paper to create the perfect background for mounting pictures to the glass, when I get them printed that is.
The new coat rack is made from an old kitchen cabinet door that I painted with chalkboard paint. I plan on putting some pictures on that as well. In case you are wondering, that is not our address, but rather our anniversary on the coat hooks. Our last name was way too long to spell out using hooks, so I put it above via pictures of items that resemble letters.
I don't think I have any other pics of them, but about a year ago the microwave stopped working so we replaced all of the appliances with stainless steel. I absolutely love my mini french door fridge and how much the stainless brightens up the room. * Once again the flash was on making the island look bright blue.
Finally after a year and a half, lots of hard work and just a little bit of money, our small cramped kitchen now feels open and much larger. The island has given me the extra storage and counter top space that the kitchen has been lacking, all without making the room feel any smaller.


